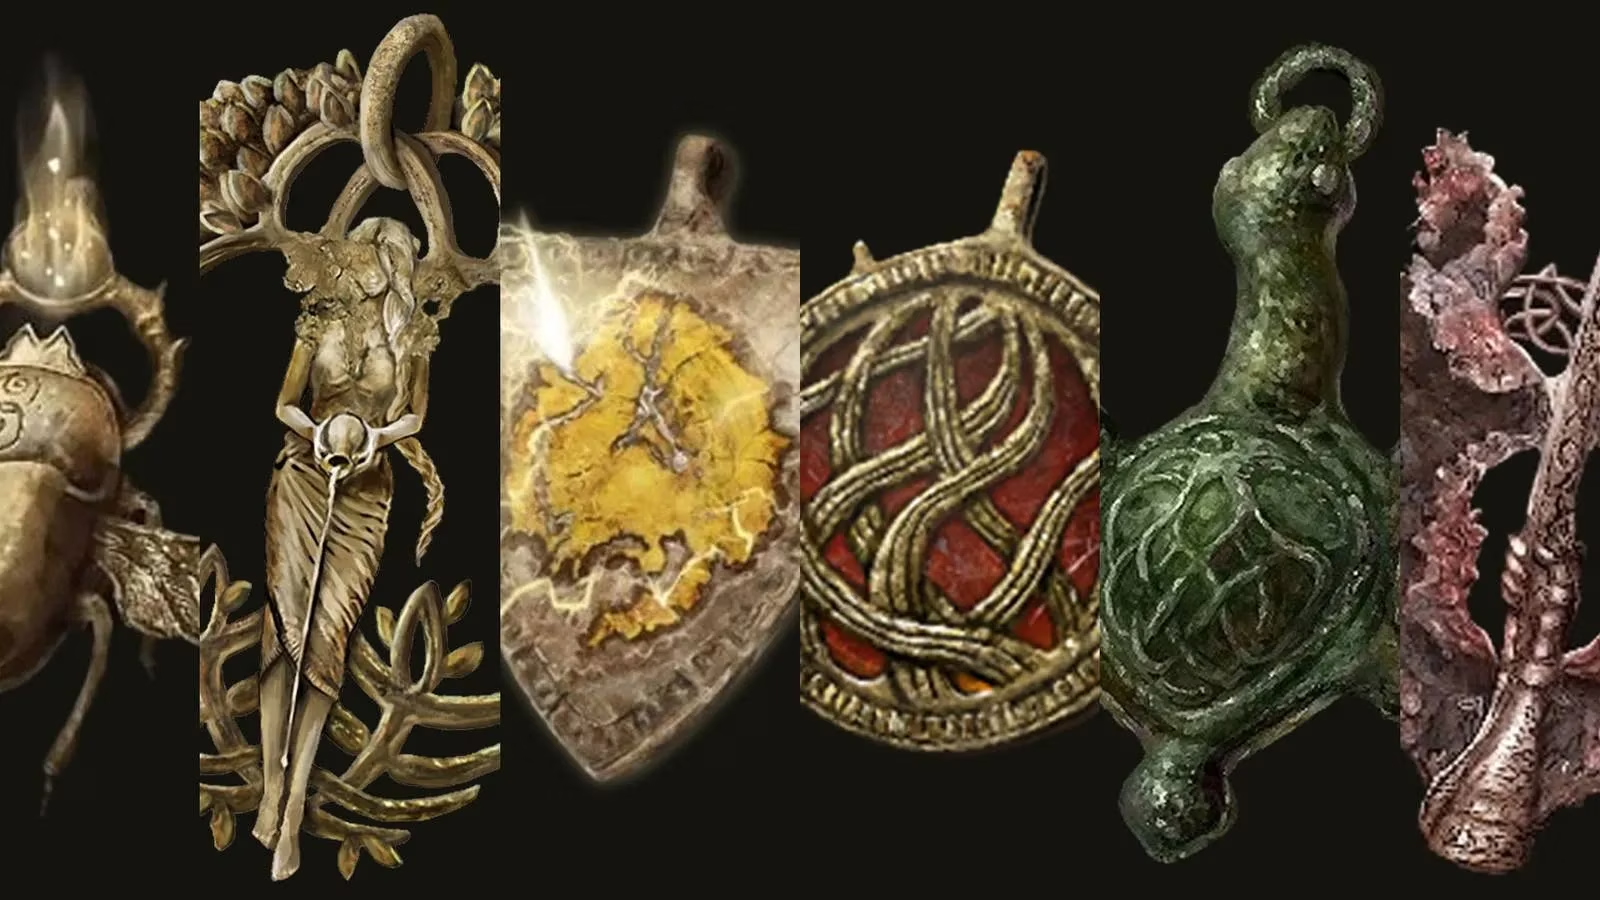
I’ve spent enough time in the Lands Between to know that armor is only half the story. Since Elden Ring arrived on February 25, 2022, I’ve watched players rebuild themselves around weapons, sorceries, and ashes of war, yet the quietest gear slots often decide whether a boss run ends in triumph or a long ride back through fog. Even in 2026, those old talisman picks feel less like relics and more like tuned instruments, each one altering my survival like a musician adjusting a particular string before a brutal performance.
Below is the list I still recommend to anyone who asks me what to equip before their next punishing stretch.
| Rank | Talisman | Core Effect | Why It Still Matters |
|---|---|---|---|
| 1 | Crimson Seed Talisman | Boosts HP restoration from Crimson Tears flask | Healing becomes a reservoir instead of a sip |
| 2 | Great-Jar's Arsenal | Vastly raises maximum equip load | Turns heavy builds nimble or unlocks Light Load |
| 3 | Drake Talismans | Boost specific damage negations | Rotating elemental defense for every boss |
| 4 | Sacrificial Twig | Prevents rune loss upon death | Emergency protection for stranded runes |
| 5 | Gold Scarab Talisman | Increases runes from defeated enemies | Faster leveling and build completion |
| 6 | Godfrey Icon | Enhances charged spells and skills | Pairs perfectly with the Radagon Icon |
| 7 | Erdtree's Favor | Raises HP, stamina, and equip load | Upside across three stats with no drawback |
| 8 | Dragoncrest Greatshield Talisman | Enormously boosts physical damage negation | Survives hits that would normally delete you |
| 9 | Green Turtle Talisman | Raises stamina recovery speed | More frequent attacks during tight openings |
| 10 | Rotten Winged Sword Insignia | Greatly raises attack power with successive strikes | Rewards aggressive, momentum-based combat |
1. Crimson Seed Talisman: An Extra Chamber Behind the Ribs
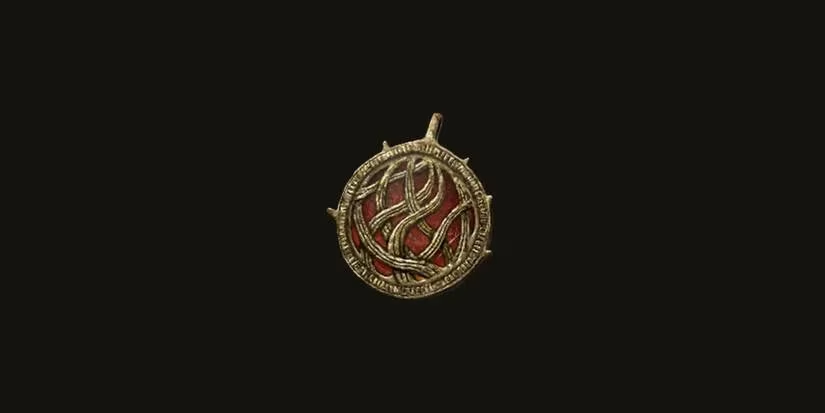
At first this talisman looked trivial to me. Later, when bosses began hitting with the force of a landslide and every Flask charge mattered, it revealed itself as a second pulse. The Crimson Seed essentially behaves like an additional Golden Tear, making each drink return more health than the flask would normally offer. I found mine in the Sainted Hero’s Grave at Altus Plateau. For NG+ runs, I treat it as mandatory. It is one of those quiet upgrades that feels like adding an extra chamber to a heart, just behind the ribs of your build.
2. Great-Jar's Arsenal: Shedding the Invisible Anchor

Most characters live in Medium Load. The Great-Jar's Arsenal lets me stay medium while carrying heavier weapons, or drop into Light Load for sharper dodges. Completing the Great-Jar's quest in Caelid is worth the trip. Compared to other equip-load talismans, this one feels like a counterweight removed from your ankles. Heavy builds become nimble, and nimble builds become almost spectral.
3. Drake Talismans: A Wardrobe of Resistances
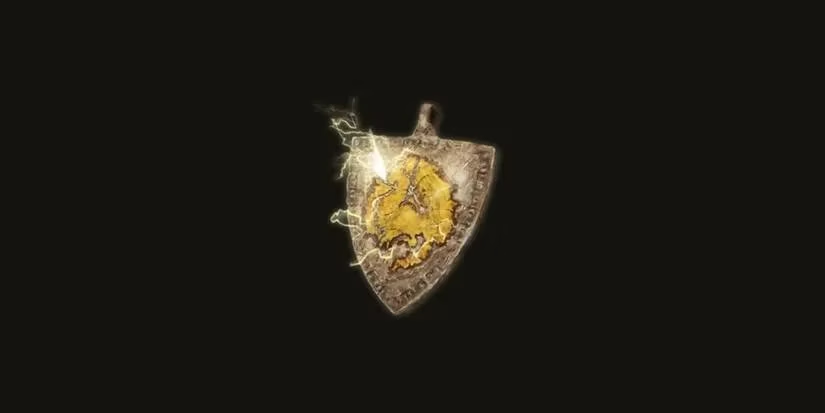
No single Drake talisman dominates. I cycle them like a traveler swapping cloaks according to weather. Fire, magic, lightning, holy, and broader non-physical damage each have their corresponding piece. The Haligdrake variants are especially valuable against the final boss's holy onslaught. Look for +1 and +2 versions to deepen the ward. I keep several in my pouch because the Lands Between never throw only one element at you.
4. Sacrificial Twig: A Ghost Policy for Runes
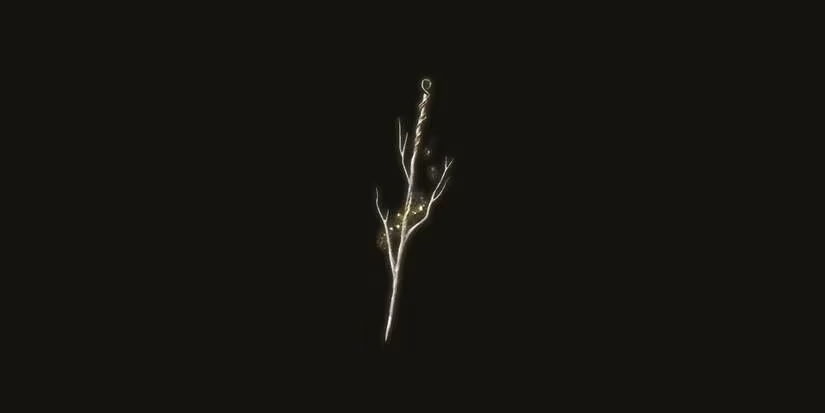
This talisman is not meant to be worn permanently. Instead, it is an emergency brake. When my runes are stranded in a dangerous corner, I slot a Sacrificial Twig and walk into that danger like a banker walking into a burning vault with a fireproof briefcase. If I die, the talisman breaks instead of scattering my runes. Merchants sell them, and every one I find gets stored away like an insurance document written in invisible ink.
5. Gold Scarab Talisman: The Compounding Interest Charm

The Gold Scarab increases runes from defeated enemies. Located in the Abandoned Cave in Caelid, it is one of the first detours I make on a new character. Paired with a Gold-Pickled Fowl Foot, it turns quick farming loops into serious income. For me, it works like a quiet interest-bearing account attached to every kill, steadily thickening my levels without demanding extra risk.
6. Godfrey Icon and Radagon Icon: The Spellcaster's Chosen Duo
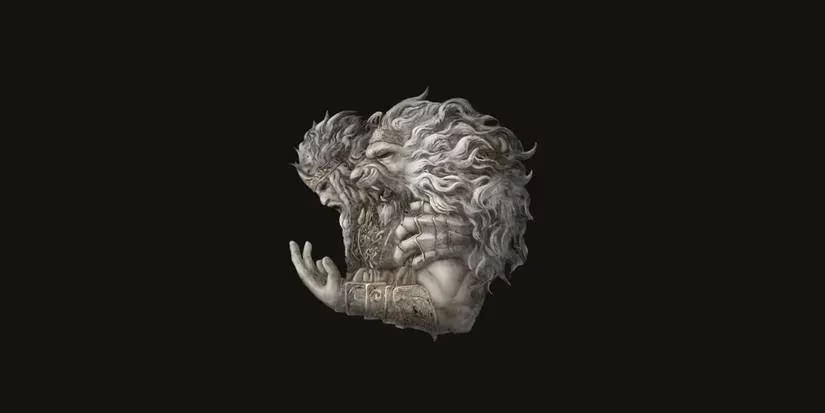
Charged spells and skills gain a meaningful boost from the Godfrey Icon, found at the Golden Lineage Evergaol in Altus Plateau. I pair it with the Radagon Icon from Raya Lucaria Academy, above the chamber where the Red Wolf of Radagon falls, so casts both hit harder and come out faster. Together they shape a caster build into a coiled spring: lengthy windups shorten, charged releases hit with intent, and enemies who once interrupted me now meet a spell at full force before they close the gap.
7. Erdtree's Favor: The Load-Bearing Keystone
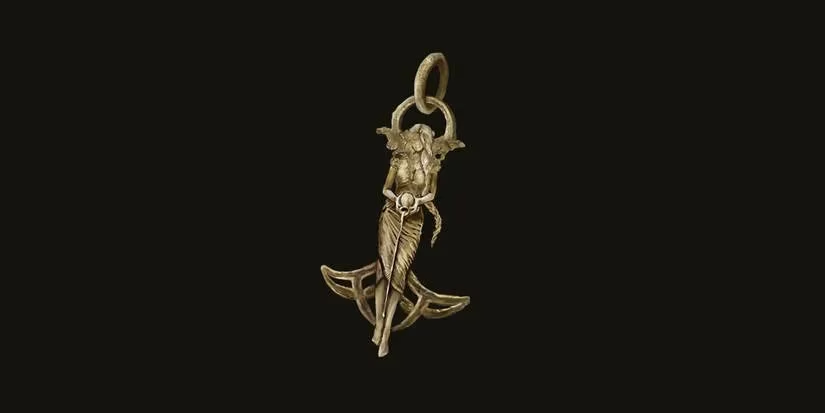
Raising HP, stamina, and equip load at once makes Erdtree's Favor special because it carries no downside. The best version sits in Leyndell, Ashen Capital after the city is blanketed in ash. For heavy greatsword or colossal weapon builds, it becomes a load-bearing keystone: remove it and the whole arch of your survivability slumps. I usually chase the stronger +2 variant late in the run.
8. Dragoncrest Greatshield Talisman: A Second Skeleton of Folded Steel
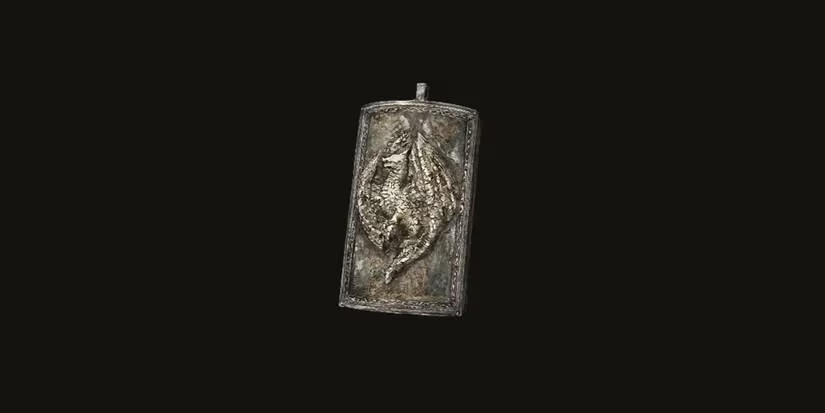
Even top-tier armor can fail in two hits. The Dragoncrest Greatshield talisman, hidden in Elphael, Brace of the Haligtree, enormously reduces physical damage taken. I think of it as a second skeleton of folded steel beneath the skin of my armor. Bosses that once chopped through me now strike something denser. It is the one defensive talisman I recommend regardless of build.
9. Green Turtle Talisman: Bellows for the Stamina Fire
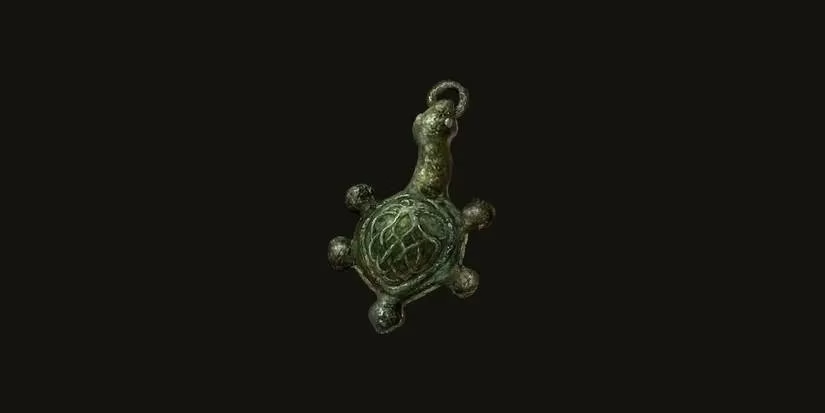
Stamina recovery is easy to undervalue until a combo leaves you standing flat-footed. The Green Turtle Talisman works like a blacksmith’s bellows, feeding your green bar between bursts of attacks. Against the final boss’s second phase, where aggression windows are short, quicker recovery translates directly into kills. I keep it equipped on nearly every melee setup because dead time is damage lost.
10. Rotten Winged Sword Insignia: The Crescendo of Consecutive Strikes
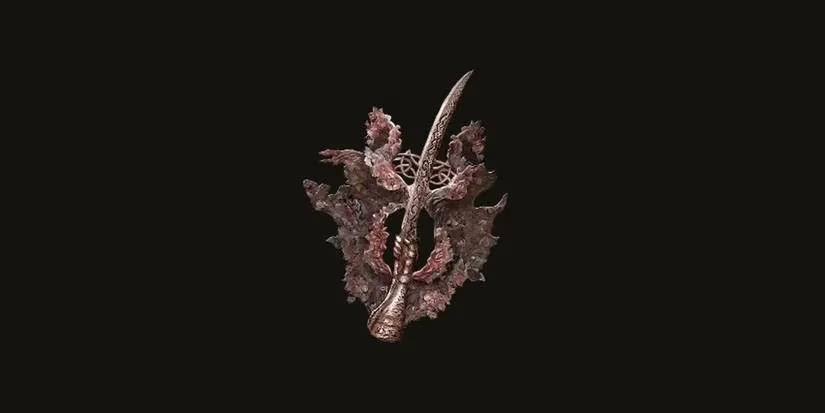
For rapid attackers, this talisman greatly raises attack power with successive hits. Acquiring it near Malenia by completing Millicent's questline and choosing to aid her makes it a late-game reward, but its value extends into NG+. It encourages a kind of momentum-based combat, like a wave that gathers force instead of breaking. Against Malenia herself, I found that extra stacked power helped make the fight's brutal arithmetic slightly more forgiving.
Talismans are rarely the loudest part of a loadout, but they are often the difference between a brittle attempt and a composed clear. My own rule after years of reruns remains simple: shape the four slots to the trial in front of you, and let the Lands Between respond to your preparation.
Leave a Comment