As a seasoned Tarnished who's faced countless horrors across the Lands Between, I can confidently say that encountering the Lord of Blood in Elden Ring: Nightreign's Forsaken Hollows is a serious 'git gud' moment. This ain't your first rodeo with Mohg if you played the original game, but holy moly, The Balancers' expedition throws some wicked curveballs that'll test even the most hardened veterans. Let me break down everything you need to know about this bloody reunion.
🔥 The Return of Mohg: What's Different?
The Lord of Blood makes his grand reappearance as an end-of-day boss that you can only challenge during Day 2 of The Balancers' expedition. You'll get the heads-up that he's coming when you defeat Curseblade and Divine Beast Warrior at the end of Day 1. It's like the game's way of saying, "Buckle up, buttercup - things are about to get messy!"
⚔️ Phase One: Bloody Business as Usual

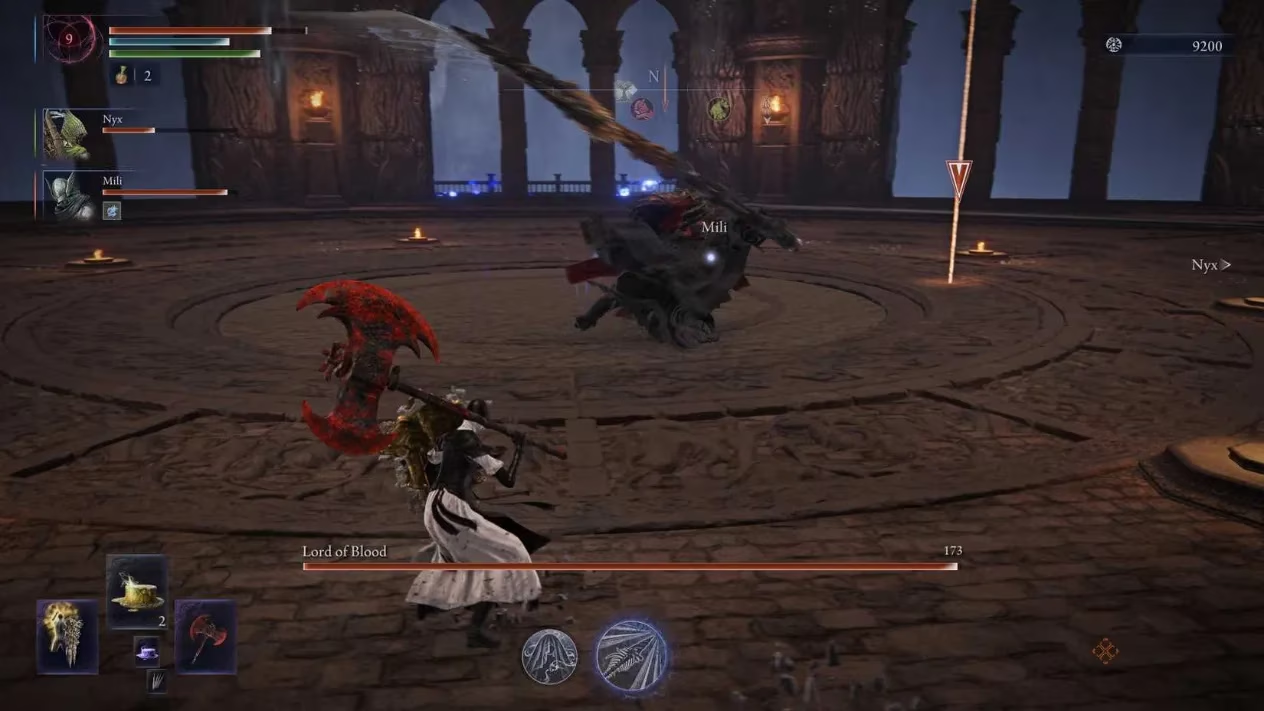
During the initial phase, the Lord of Blood plays some familiar tunes from the original game, but don't get cocky - he's still deadly AF. Here's what you're dealing with:
-
Trident Swings: Straightforward melee attacks that pack a serious punch
-
Blood Claw Marks: Creates bloody marks in the air that explode shortly after - run like hell!
-
Blood Rain: Summons circles above him that either create close-range blood showers or long-range blood projectiles
-
Forward Charge: A quick linear charge that requires side dodges (backwards dodging is a big no-no!)
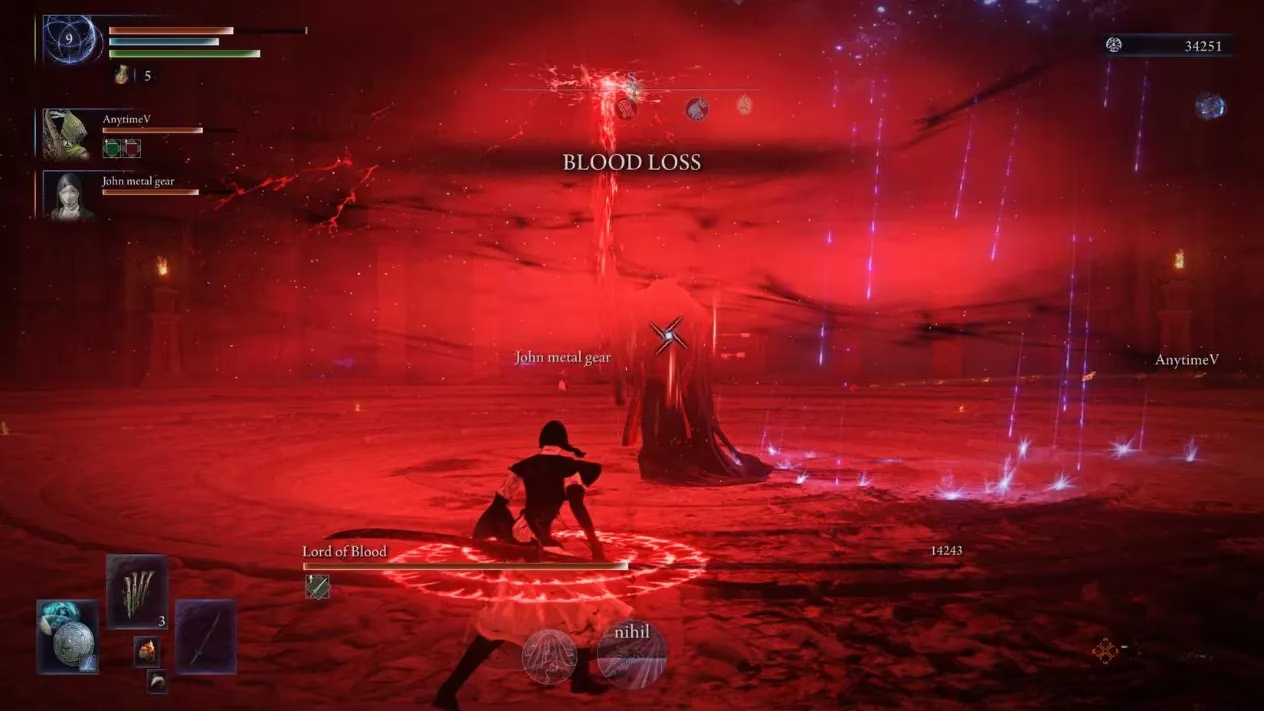
The real game-changer is his blood ritual mechanic. When he holds his weapon up and starts counting, he summons unavoidable red rings around your character. After three rings, he unleashes an undefendable attack sequence. Pro tip: The damage negation Physick can save you from one hit, but not the whole combo.
💀 The Blood Ritual: Phase Transition
When you drain about 50% of his health bar, he summons the third ring and activates his ritual. This is where things get real spicy - he'll heal significant health while hitting you with three consecutive Blood Loss attacks. This is basically the game's way of saying "Welcome to phase two, sucka!"
Phase Two: Wings of Terror
After the ritual, our boy Mohg grows wings and becomes even more aggressive. He keeps most phase one moves but adds some nasty new tricks:
New Attack Patterns:
| Attack Type | Description | Counter Strategy |
|---|---|---|
| Aerial Assault | Flies up, throws blood trails, then dive-bombs | Dodge sideways when he descends - it auto-targets! |
| Close-range Jump | Short hop into melee attack | Simple side dodge does the trick |
| Trident Combo | Right-left-right swinging pattern | Roll through or create distance |
| Blood Trident Field | Summons multiple blood tridents that create AoE clouds | Destroy nearby tridents, avoid the rest |
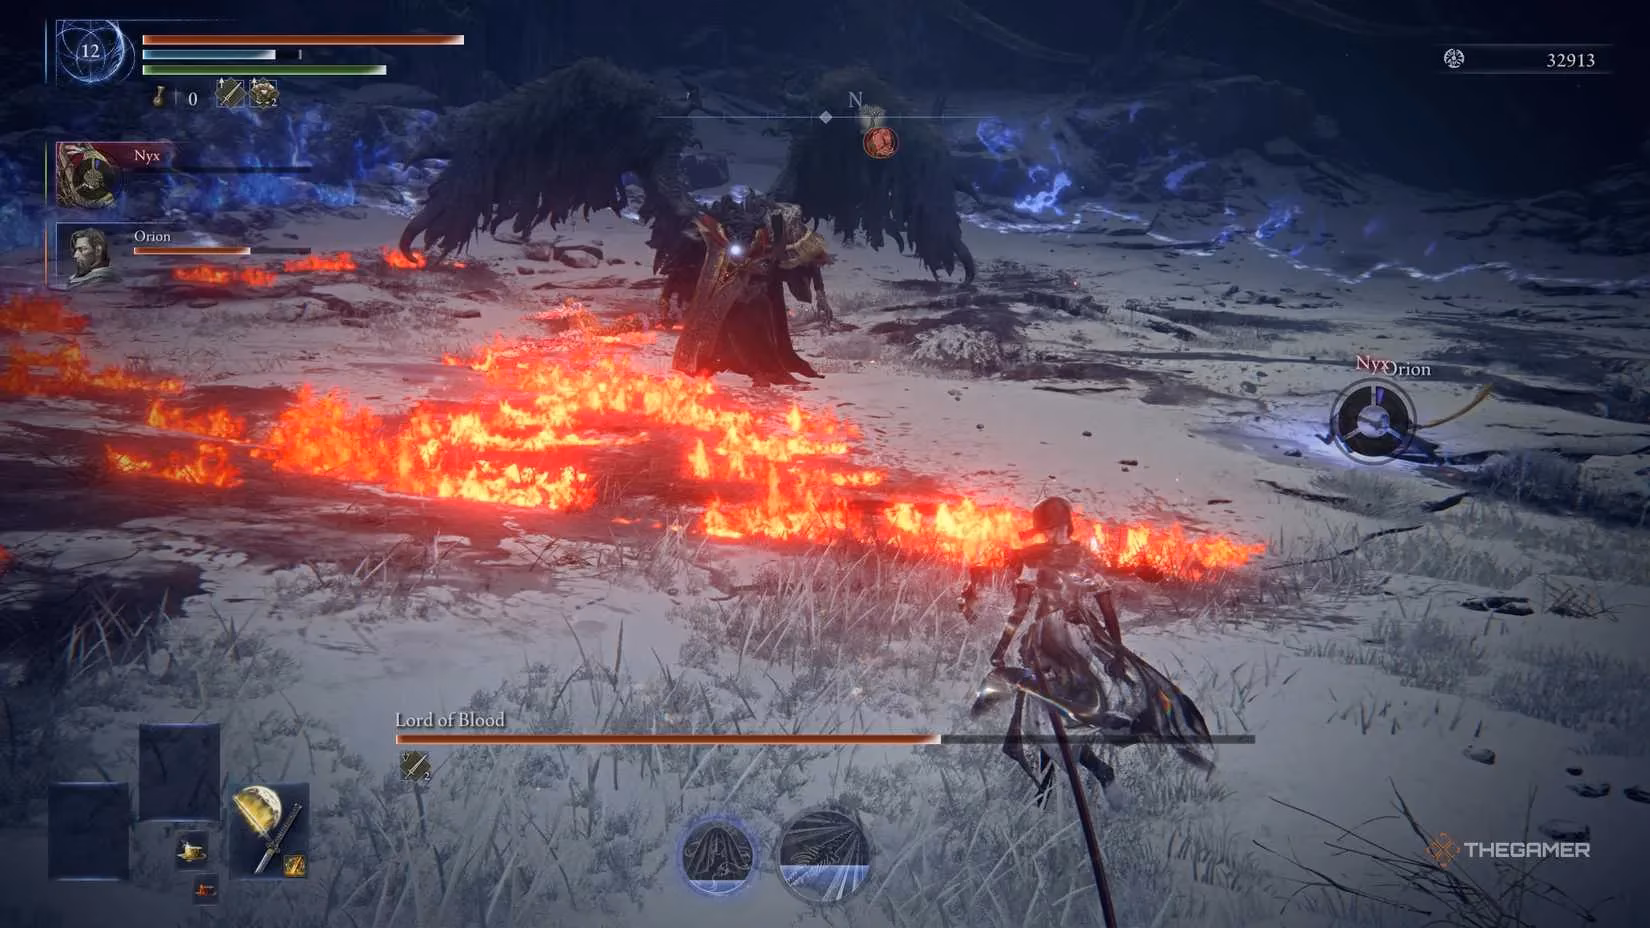
The blood trident field is seriously OP - he charges briefly, then plants multiple tridents that later activate into blood clouds. While you can destroy them, there are too many to handle before activation. Your best bet? Take out the ones near you and your party, then avoid the other areas like they're the plague.
🎯 Pro Strategies for Victory
Here's the real tea: the Lord of Blood becomes super vulnerable after critical hits, staying open for several seconds. This is your golden opportunity to go ham:
-
Heavy Weapons FTW: They stagger him more easily for those sweet critical openings
-
Blood Loss Resistance: Stack it like your life depends on it (because it does!)
-
Positioning is Key: Stay mobile and never get greedy with attacks
-
Party Play: If you're co-oping, coordinate who draws aggro during dangerous attacks
Final Verdict
Facing the Lord of Blood in Nightreign is like meeting an old frenemy who's been hitting the gym - familiar but way more dangerous. The new mechanics keep veterans on their toes while teaching newcomers some brutal lessons. Remember: patience, positioning, and capitalizing on critical openings are your tickets to victory. Now get out there and make that bloody lord regret ever showing his face again!
Leave a Comment